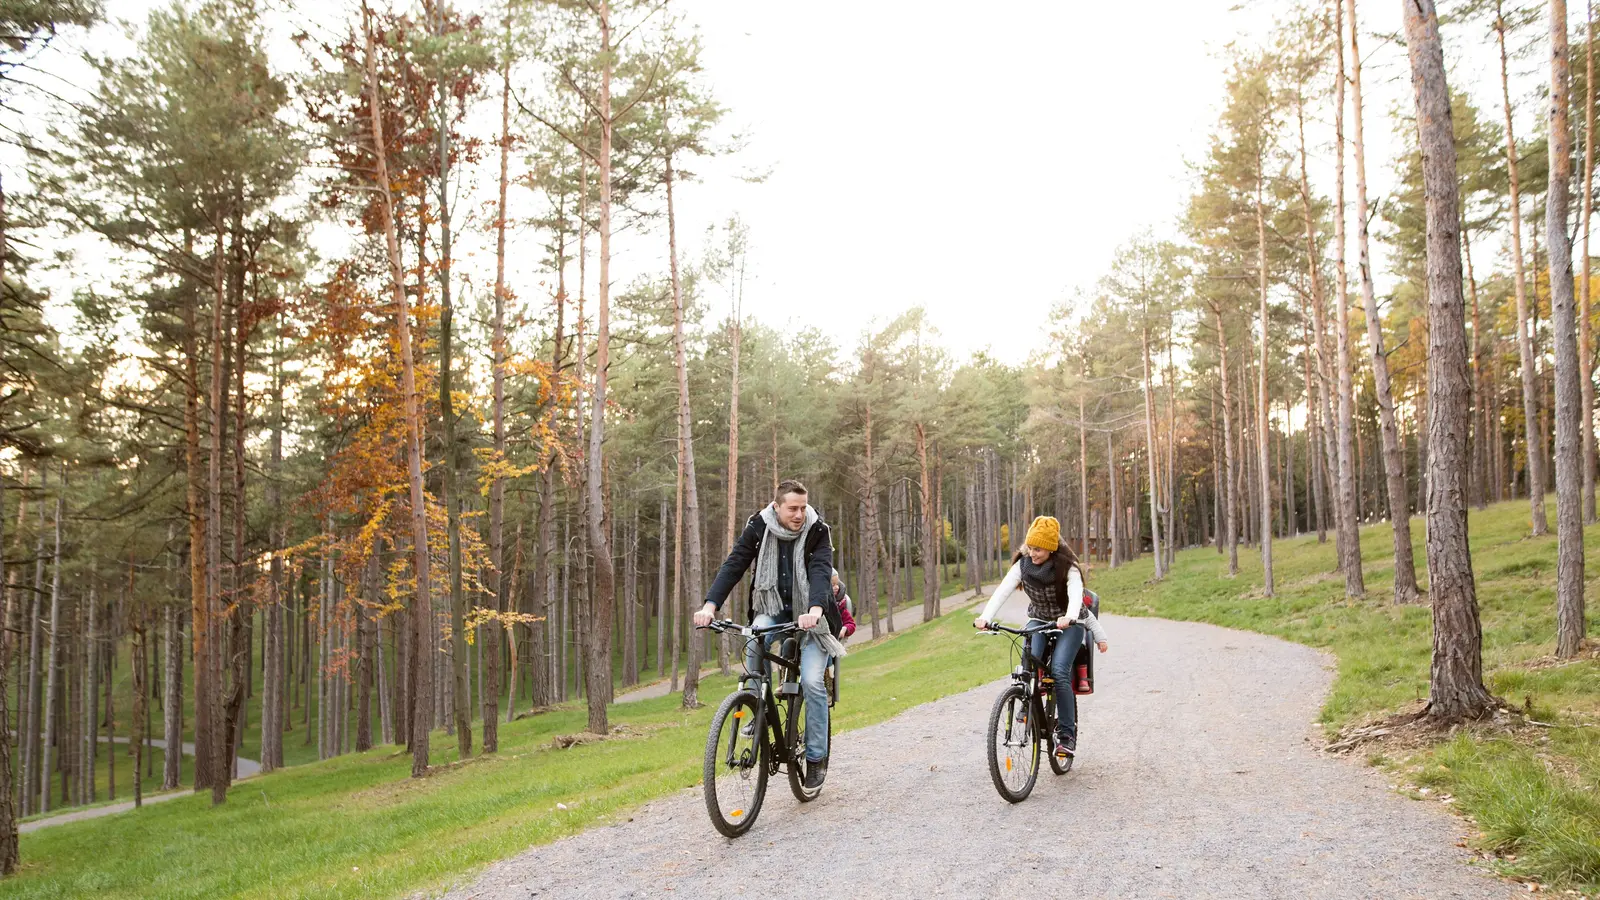
How to Ride a Bike: Balance First, Then Pedals
Learn to ride a bike with the balance-first method: set the saddle, glide without pedals, then add pedalling, steering and safe stops.
The short answer: get the balance before the pedals
Almost everyone who finds learning to ride a bike hard is trying to do three things at once: balance, steer and pedal. Take pedalling out of the equation and the balance part comes surprisingly quickly.
The reliable method is balance first. Drop the saddle, take the pedals off (or start on a balance bike), and scoot yourself along a flat, empty stretch of tarmac until you can push off, lift both feet and glide. Once you can glide for a few seconds and steer while your feet are off the ground, the pedals go back on and pedalling tends to take minutes rather than hours.
Give it a few short sessions rather than one long one. Twenty to thirty minutes at a time is plenty.
What you need before your first go
You do not need much, but the wrong kit makes the job harder than it needs to be.
- A bike you fit. You should be able to stand over the frame with both feet flat on the ground and clear the top tube. The saddle must drop low enough that both feet reach the floor.
- A helmet that fits. Snug, level on the head, not tipped back, with the straps forming a V under each ear.
- Flat, smooth, traffic-free tarmac. A park path, an empty car park, a school playground or a flat traffic-free trail. Avoid grass, gravel, cambered pavements and anything with a slope.
- Flat-soled shoes with laces tucked in, and nothing loose that can catch in the chain or wheels.
- A pump and an adjustable spanner or multi-tool for saddle height and, if you are taking them off, the pedals.
- Optional: a dedicated 15 mm pedal spanner, or a balance bike for a child.
Set the bike up before you start
Five minutes of setup saves an hour of frustration. Sort the saddle and the brakes first, because both are behind most of the wobbles and slow-speed falls beginners blame on themselves.
- Saddle, gliding phase
- Low enough that both feet sit flat on the ground with a slight bend at the knee
- Saddle, pedalling phase
- Roughly hip height when you stand beside the bike; knee slightly bent at the bottom of the pedal stroke
- Brakes
- Both levers must be reachable from where you hold the bars. On UK bikes the right lever works the front brake, the left the rear
- Tyres
- Pump to the pressure printed on the tyre sidewall — soft tyres drag and make balancing much harder
- Bolts and quick releases
- Check the saddle clamp, stem and wheel levers are tight before every session, especially after adjusting
- Pedals
- A 15 mm pedal spanner removes them; the left pedal has a left-hand thread and undoes clockwise
Learning to ride, step by step
-
1. Drop the saddle and take the pedals off
Set the saddle low enough that both feet reach the ground flat. Remove both pedals with a pedal spanner, or start on a balance bike. Keep the spanner with you for later.
-
2. Walk the bike along
Hold the bars and push the bike beside you, squeezing the brakes on and off as you go. This gets you used to the weight and how the steering feels before you sit on it.
-
3. Sit and scoot
Sit on the saddle, hands on the bars, and push yourself forward with your feet, taking slightly longer steps each time. Look ten to fifteen metres ahead rather than at the front wheel, and practise stopping with your feet.
-
4. Glide with both feet off the ground
Push harder, lift both feet a few centimetres and let the bike run, knees bent and ready to dab down. Steer with small movements of the bars. Repeat until you can hold a glide for several seconds and still steer.
-
5. Refit the pedals and find the pedal start
Put the pedals back on and raise the saddle a little. Put your first pedal at roughly two o'clock, press down firmly, bring the other foot up and keep your eyes on the path ahead rather than the pedal.
-
6. Add stopping, turning and looking behind
Set yourself small targets: five clean starts, five stops inside a marked line, a figure of eight, and a look over your shoulder while riding in a straight line. Only move on to a road or a busy cycle path once all of that feels boring.
The pedal start, explained
The pedal start trips up nearly every new rider because it asks for a burst of power at the slowest, least stable speed the bike will ever travel at.
- Put the pedal you push first at about two o'clock, not at the bottom.
- Press down and slightly forward, and let the bike travel under you rather than shoving it away.
- Settle your weight onto the saddle as the bike moves off; hovering above it makes the front end twitchy.
- Look where you are going. Watching the pedal turns the bars without you noticing.
Steering, stopping and checking behind
Once you can glide and pedal, the remaining skills are all about calm, small inputs.
- Look where you want to go. The bike follows your eyes; staring at the kerb is the fastest way to hit it.
- Relax your arms. Elbows bent, shoulders down, light hands on the bars. Stiff arms turn every wobble into a swerve.
- Brake progressively. Both levers, steadily, rather than grabbing. Use more rear brake on gravel and in the wet.
- Look behind in a straight line. Turn your head, not the bars, and practise somewhere empty first.
- Leave signalling until last. Only take a hand off when riding one-handed already feels dull.
What usually goes wrong — and the fix
| Problem | Why it happens | What to do |
|---|---|---|
| Falls the moment the pedals go back on | Balance was never solid, so pedalling overloads it | Go back to gliding until you can hold a glide for several seconds and steer while gliding |
| Looking down at the front wheel | Nerves: the bike follows your head | Pick a point ahead and keep your chin up |
| Wobbling at very low speed | Too little momentum for the bike to steady itself | Scoot or pedal a touch harder; bikes are more stable once they are moving |
| Sore saddle and dead legs | Saddle left low for pedalling, or sessions run too long | Raise the saddle once gliding works and cap sessions at half an hour |
| Gripping the bars, stiff arms | Tension, usually from fear of falling | Drop your shoulders, bend your elbows, wiggle your fingers on the straights |
| A child loses interest | Session too long, or too much instruction at once | Fifteen minutes, one thing at a time, and finish on a win |
Staying safe while you learn
- Keep every session off-road: park paths, empty car parks, playgrounds and traffic-free trails.
- In the UK, cycling on the pavement is an offence for adults — use designated cycle paths instead.
- Check brakes, tyres and quick releases before each session; a slipping wheel or spongy brake is not something to discover at speed.
- Wear a helmet and thin gloves. Long sleeves and trousers save a lot of grazed skin.
- Avoid dusk, wet leaves and frosty mornings, when tarmac loses grip without looking different.
- Tell someone where you are going if you are practising alone.
- Consider a beginner's cycle training course run by your council or a Bikeability provider — they exist for adults who have never ridden.
If you're learning as an adult
Adults learn perfectly well; the difference is usually confidence rather than coordination. A few adjustments help.
Start with the saddle lower than you would ride it long term, so you can flat-foot the ground whenever you want. A step-through frame or a hybrid is easier to mount and dismount than a road bike with a high top tube, and a heavy hire or share bike is harder to balance than a light one — not a reason to avoid them, just a reason to be patient.
Pick quiet times: early mornings in a park, a retail car park on a Sunday evening. Expect to spend longer on starting and stopping than on the actual riding, and do not be surprised if the first solo pedal stroke feels wobbly — it does for everyone.
Teaching a child to ride
The balance-first approach works best for children too, and it is far less back-breaking than running behind a bike holding the saddle.
Take the pedals off and let them scoot. Keep sessions short — fifteen minutes is plenty for a young child — and let them set the pace. Support them lightly at the shoulders or the saddle if they want it, then let go without announcing it; children ride further when they do not know you have released. Give one instruction at a time, and if they are laughing and steering, leave the coaching for another day.
A simple practice plan
- Session length
- 20–30 minutes, finishing while you still feel fresh
- How often
- Two or three short sessions a week beats one long one
- Gliding milestone
- Both feet off the ground, steering, for several seconds
- Pedalling milestone
- Three clean starts and three controlled stops in a row
- After that
- Quiet cycle paths and a beginner's training course before you tackle roads
Frequently asked questions
Do I have to wear a helmet to learn to ride?
There is no law in the UK requiring a helmet on public roads, for adults or children. They are still strongly recommended, and many club rides and organised training sessions will not let you take part without one. Fit matters more than price: level on the head, snug, with the straps forming a V under each ear.
Do stabilisers help a child learn?
Stabilisers teach steering and pedalling, but because they hold the bike upright they never teach balancing. That is fine for a small child getting used to being on a bike, but balance practice without them — on a balance bike or with the pedals removed — is what actually gets a child riding.
Should I practise on grass in case I fall?
Grass is softer to land on, but it drags, hides holes and makes the bike wander, which causes the wobbles in the first place. Smooth, flat tarmac with long sleeves and gloves is quicker and, in practice, safer.
Can I learn in a single afternoon?
Some people do get gliding and pedalling in one session, but do not plan around it. Confidence with starting, stopping and turning usually takes several short goes, and rushing that stage is how people end up bruised and put off.
Why do I keep falling to one side?
Usually a combination of looking down, a saddle that is too high to dab a foot down, and gripping the bars too hard. Lower the saddle, look ahead, keep the pedals level when you are coasting, and get back to gliding until the balance feels automatic.
Related articles
 How to Choose a Bike Helmet: Fit First, Then FeaturesRide Guides
 How to Fix a Puncture: A Step-by-Step Guide for CyclistsRide Guides
 How to Teach Your Son to Ride a Bike: A Step-by-Step GuideRide Guides
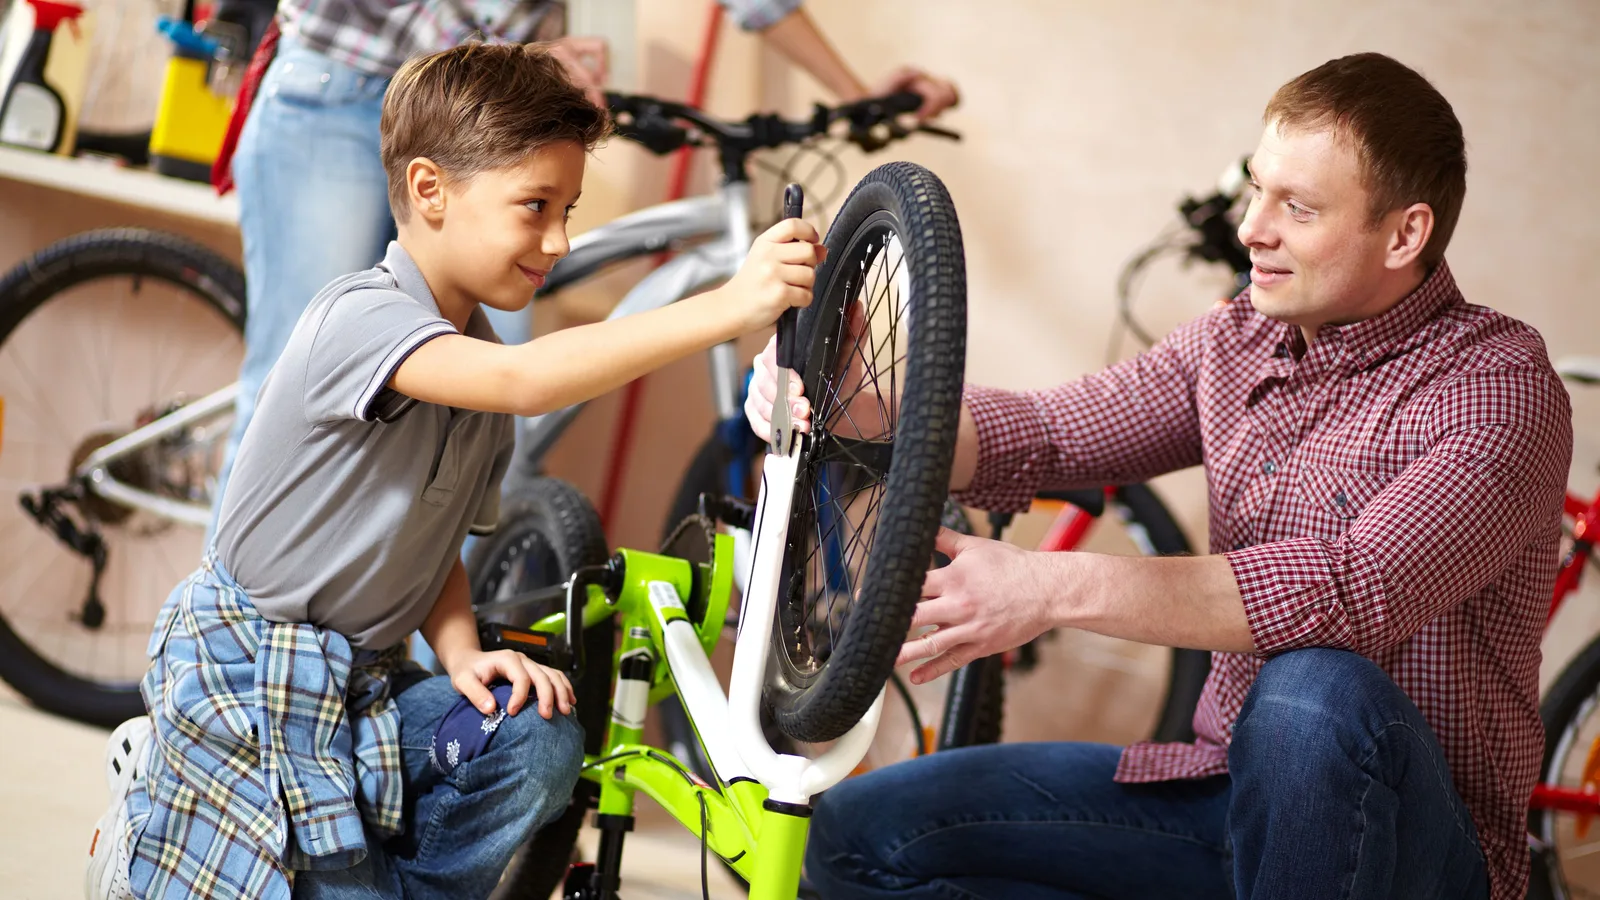 How to change a bike tyre: step-by-step guideRide Guides
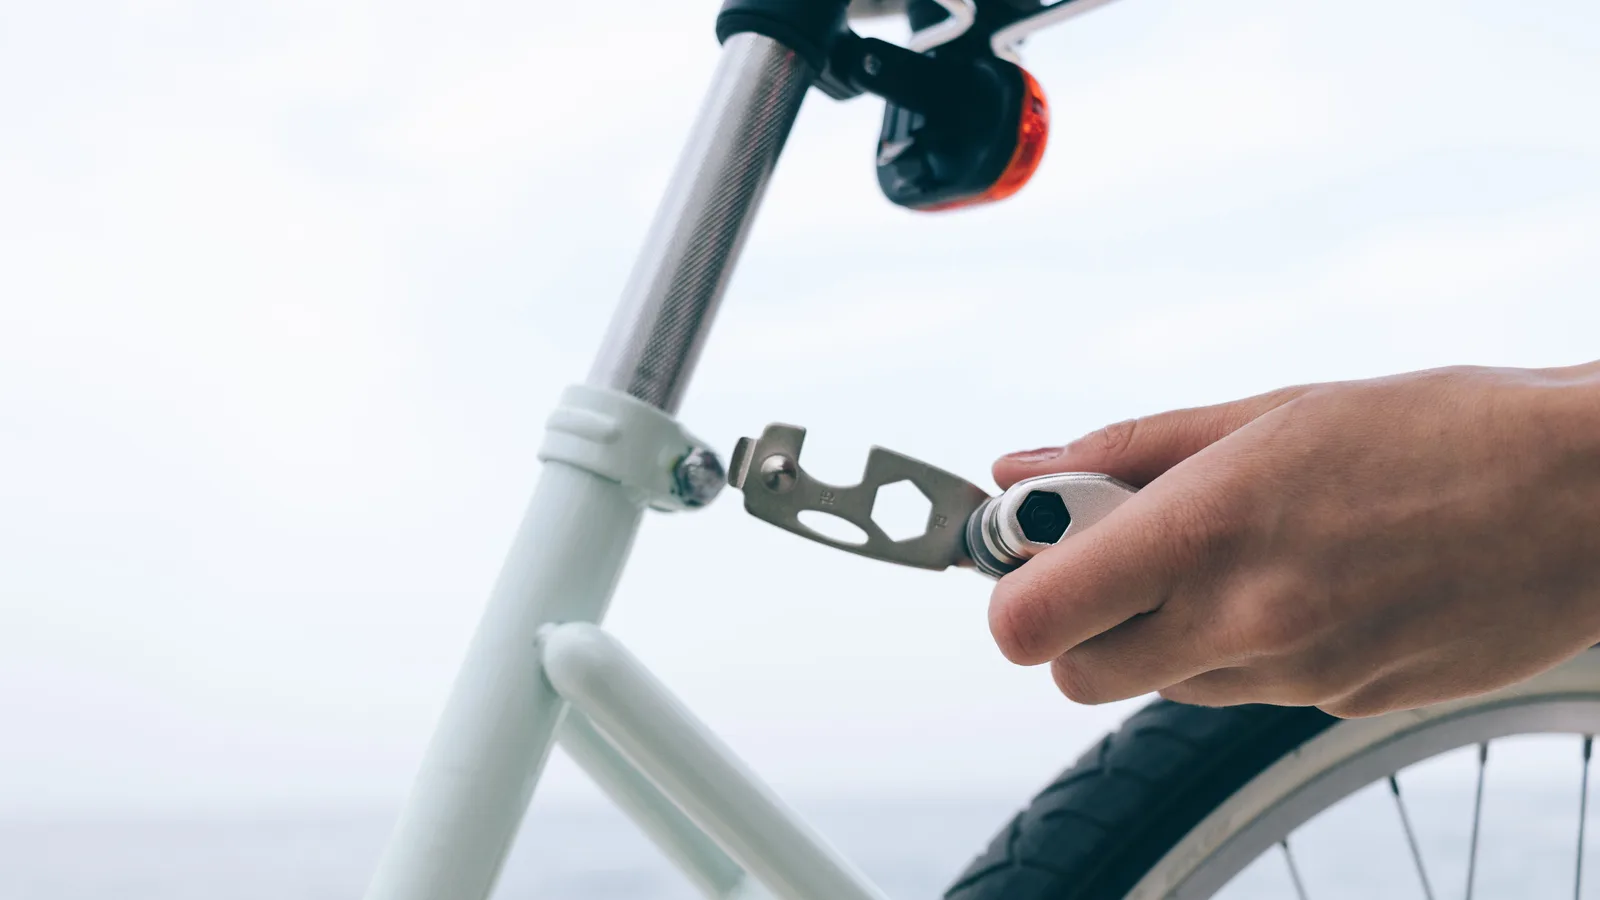 How Do You Measure a Bike Frame Size? A Simple GuideRide Guides
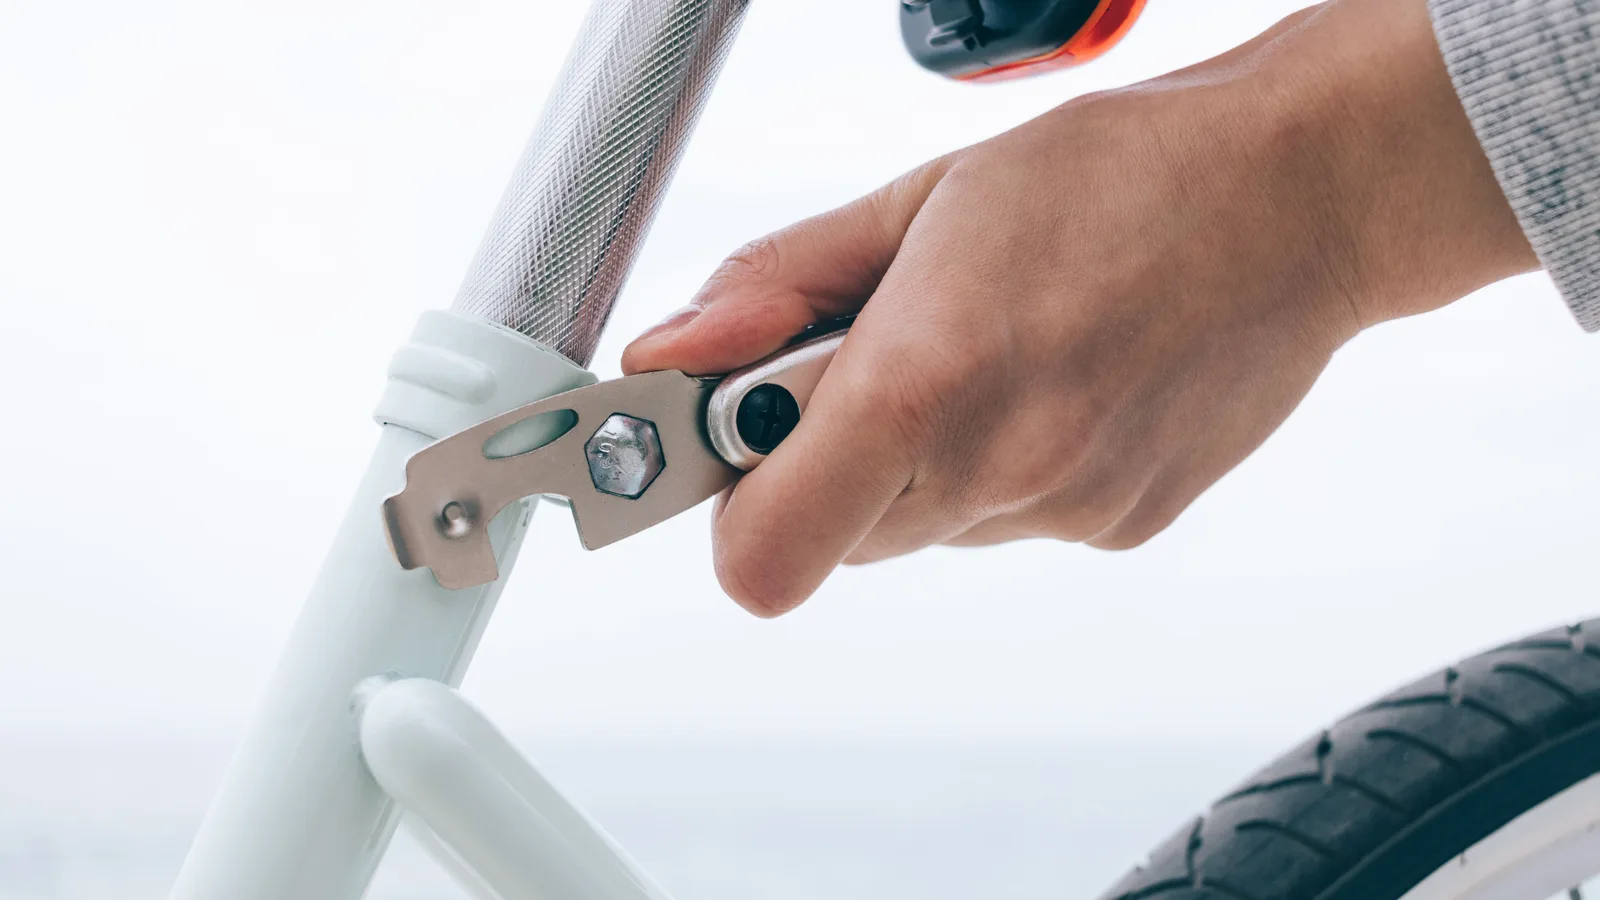 How to Adjust Bike Brakes: Rim and Disc Brakes, Step by StepRide Guides
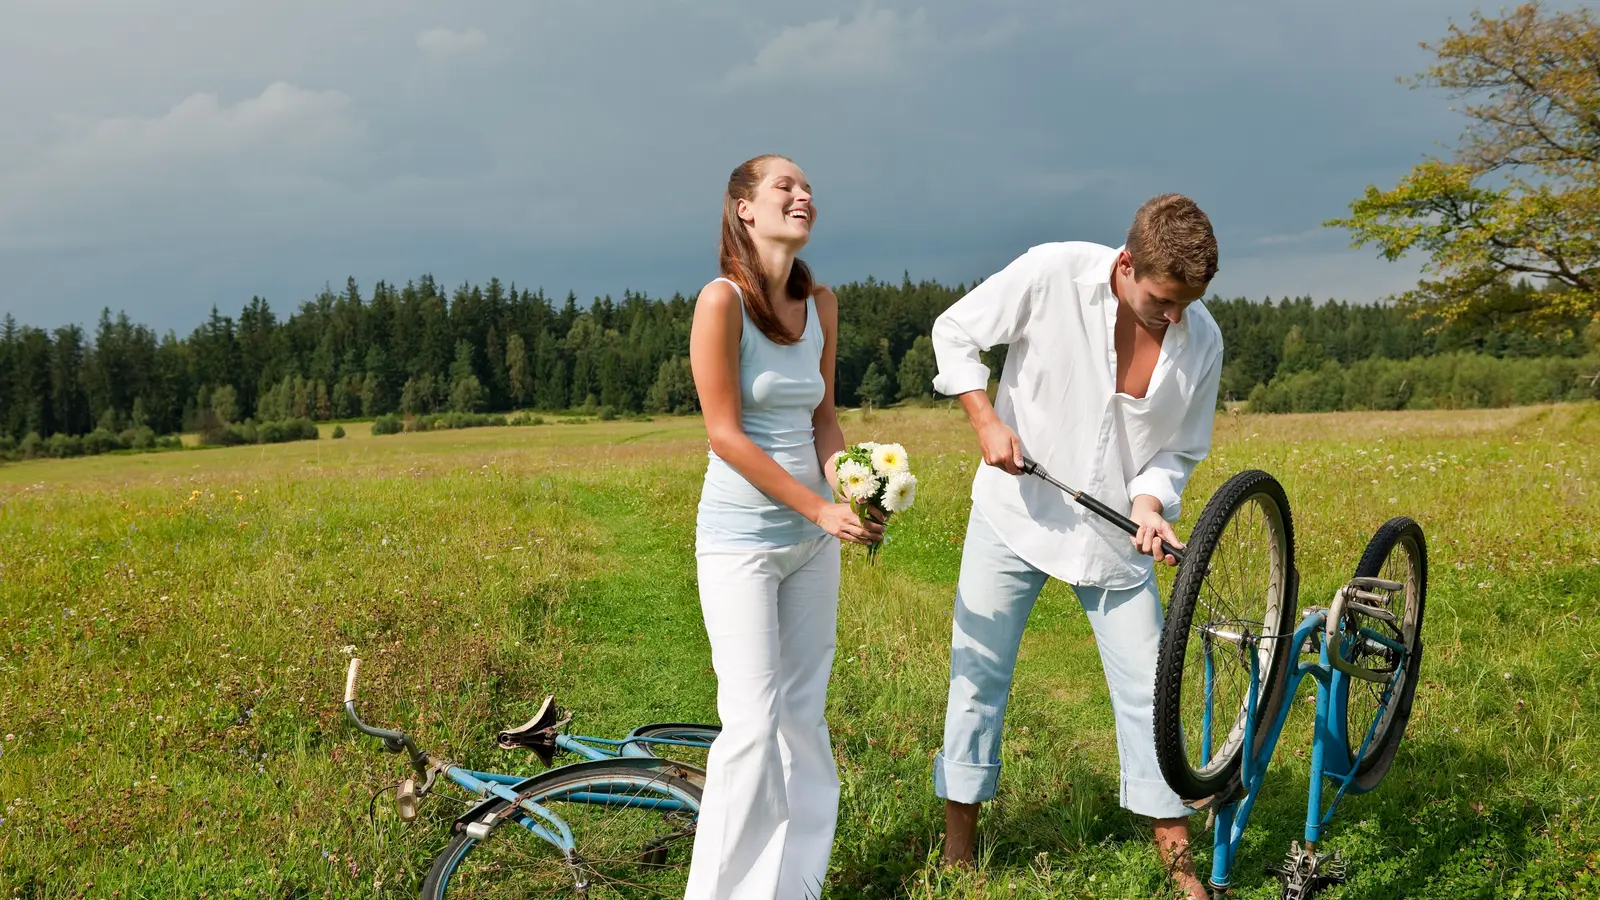 How to change a bike inner tube, step by stepRide Guides
 How to Get Pedals Off a Bike: Direction, Tools and FixesRide Guides