How to Fix a Puncture: A Step-by-Step Guide for Cyclists
Fix a puncture at the roadside or at home with this practical guide: remove the wheel, find the cause, patch the tube and refit it safely.
The short answer
A puncture is fixed by taking the inner tube out, finding what caused it, and then either patching the tube or fitting a spare before inflating and refitting the wheel. Most of the work is in finding the cause: if you skip that, the replacement tube will often go down within a few minutes.
You do not need a workshop. A spare tube, a couple of tyre levers, a pump and a patch kit will cover almost every roadside repair. If your bike runs tubeless tyres, the method is different — there is a short section on that below.
What you need before you start
Put everything out where you can see it before you start. Looking for a missing lever in long grass is how a simple repair turns into a long walk.
- A spare inner tube that matches your tyre size and valve type, or a patch kit.
- Two or three plastic tyre levers.
- A hand pump that fits your valve — check whether you have Presta or Schrader before you leave home.
- A patch kit with patches, vulcanising solution and sandpaper, even if you are carrying a spare tube.
- A clean rag or a pair of gloves, and something to put the small parts in.
- For tubeless tyres: a plug kit and sealant.
- Spare tube
- Match the size range on the box to the size on your tyre sidewall, and check the valve type and length.
- Tyre levers
- Plastic levers are less likely to damage a rim than metal ones.
- Patch kit
- Patches, a small tube of vulcanising solution and a piece of sandpaper or a small scraper.
- Pump
- A hose or a head that fits your valve without pulling on the valve stem.
- Tubeless kit
- Plug tools sized for your tyre, plus sealant if the hole is small.
Step by step: fixing a puncture
Work in this order. The steps assume a bike with inner tubes and either rim brakes or disc brakes; wheel removal differs slightly, but the repair is the same.
-
1. Stop somewhere safe
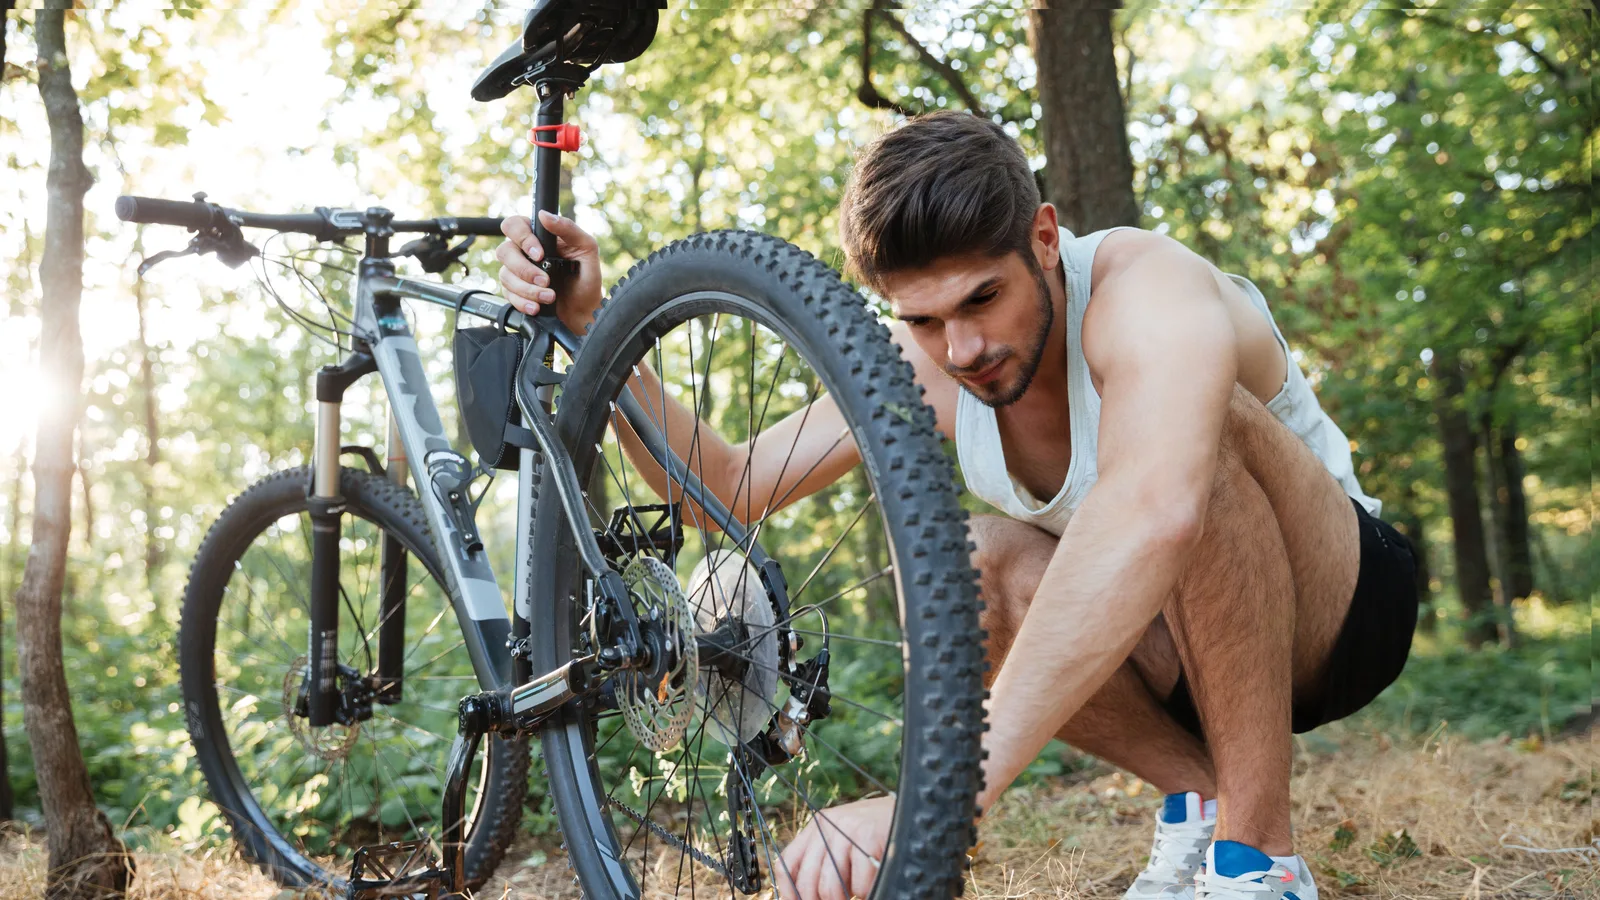
Get well clear of traffic — a verge, a lay-by or a gateway is better than the gutter. Turn the bike upside down on its saddle and bars, or lay it on its non-drive side, and keep your tools in one spot. If you are on a narrow lane, put a jacket or bag out where drivers will see it.
-
2. Remove the wheel
For rim brakes, release the brake quick-release or deflate the tyre slightly so the wheel clears the blocks. For disc brakes, avoid squeezing the lever with the wheel out. On the rear, shift to the smallest sprocket first, then push the derailleur cage back as you lift the wheel out. Keep any thru-axle, nuts and washers together.
-
3. Deflate and free the tyre
Let all the air out. Push the tyre bead away from the rim all the way round with your thumbs. Hook a tyre lever under the bead and clip it to a spoke, then use a second lever about a hand's width away. Run the second lever around the rim to free one side of the tyre. Do not use a metal lever on a carbon rim.
-
4. Take out the inner tube
Start at the valve and ease the tube out of the tyre. If there is a valve nut, undo it fully and put it somewhere safe. Keep the tube intact: the hole is easier to find if the tube is not torn into pieces.
-
5. Find the cause
Put a little air into the tube and listen or feel for escaping air. A bowl or puddle of water makes small holes obvious as bubbles. Then run a gloved finger around the inside of the tyre and along the rim tape — never use a bare finger, because glass and thorns are sharp. Line up the valve with the hole in the tube to work out where the object was in the tyre.
-
6. Remove whatever caused it
Dig out flint, glass or thorns with the tip of a tyre lever or a small screwdriver. Check the tyre again after you have removed it; a second piece of glass can be hidden a few centimetres away. If the cut shows the casing or the sidewall is damaged, the tyre needs replacing rather than patching.
-
7. Patch the tube
Mark the hole, then roughen an area a little larger than the patch with sandpaper. Apply a thin, even layer of vulcanising solution and let it dry until it is tacky, not wet. Press the patch on firmly and hold it for a few seconds, then peel off the backing and dust the area with chalk or talc. Do not stretch the tube while the patch sets.
-
8. Fit the tube and seat the tyre
Put just enough air in the tube to give it shape. Fit the valve through the rim, then tuck the tube inside the tyre all the way round. Starting opposite the valve, push the tyre bead onto the rim by hand. Work towards the valve last. If you need a lever for the final bit, use a plastic one and check that the tube is not trapped under the bead.
-
9. Inflate and check the bead
Inflate slowly to the pressure shown on the tyre sidewall. Look at the moulded line just above the rim: it should sit evenly all the way round. If it dips or bulges, deflate and reseat the tyre before inflating again. A bulge or a thump when the wheel spins means the tube is trapped or the tyre is not seated.
-
10. Refit the wheel and test
Refit the wheel, close the quick-release or tighten the thru-axle, and reconnect the brake. Spin the wheel and check that the rim or disc does not rub. Check the gears, then ride gently for the first few hundred metres and recheck the tyre pressure.
Patching or fitting a spare?
Both work. The choice usually comes down to where you are and what you are carrying.
| Patch the tube | Fit a spare tube | |
|---|---|---|
| Best for | A single small hole you can find and clean | A torn valve, a large cut or a tube with several holes |
| What you need | Patches, solution, sandpaper, levers, pump | Spare tube, levers, pump |
| Time and conditions | Needs a dry, clean surface for the patch to bond | Quicker at the roadside, especially in rain or cold |
| Reliability | Good if the tube is clean and the solution is left to become tacky | Good if the tube is the right size and not pinched during fitting |
| Kit space | Very small | Bulkier, particularly for larger wheel sizes |
| After the ride | The repaired tube can go back into service | The punctured tube can be patched at home as a spare |
What commonly goes wrong
- The patch lifts. The usual causes are a dirty tube, a patch that is too small for the hole, or solution that was still wet when the patch went on. Clean and roughen the tube, use a patch bigger than the damage and let the solution become tacky.
- The new tube goes down straight away. The object that caused the first puncture is still in the tyre, or the rim tape has moved and a spoke hole is cutting the tube. Find the cause before fitting another tube.
- The tube is pinched. A tube trapped between the tyre lever and the rim will puncture as you inflate. Go round both sides of the tyre with your thumbs before you pump it up.
- The valve tears. Pulling the pump head sideways puts strain on the valve. Hold the pump head or the valve stem steady while you inflate.
- The wheel rubs after refitting. The wheel may not be sitting fully in the dropouts, or the brake quick-release is still open. Check both before you ride.
Tubeless tyres: a different fix
Tubeless tyres do not have an inner tube, so the repair is different. A small puncture often seals itself as the sealant is pushed into the hole: spin the wheel, listen for escaping air and add pressure. If it will not seal, use a tubeless plug. Ream the hole with the tool, push the plug in, withdraw the tool and trim the plug flush, then reinflate.
A plug will not fix a torn sidewall, a large cut or a tyre that has come off the bead. In that case, fit an inner tube as a temporary measure to get home, but check the inside of the tyre for sharp objects first and be prepared for sealant to make a mess.
Before you ride away
- Check the tyre bead line is even on both sides.
- Spin the wheel and look for a bulge or a wobble.
- Test the brakes before you set off.
- Check the gears, especially after refitting a rear wheel.
- Recheck the pressure the next morning; a patch or a tubeless plug can weep slightly at first.
Frequently asked questions
Can I fix a puncture without a spare tube or patch kit?
Not properly. If you have neither, do not ride on the flat; push the bike or call for help. A tubeless tyre with sealant may seal a small hole without a kit, but you still need a pump.
How do I find the hole in an inner tube?
Inflate the tube a little and listen or feel for escaping air, or pass it through water and look for bubbles. Mark the hole before you let the air out.
Why does my tube keep puncturing on the inside, near the spokes?
That usually points to the rim tape: it may be worn, split or not covering the spoke holes. Replace it with tape of the correct width for the rim.
Can I patch a tube with a self-adhesive patch?
Yes, if the tube is clean and dry and you press the patch down firmly. Self-adhesive patches are convenient at the roadside but are less reliable on a wet or dirty tube.
How tight should a wheel quick-release be?
Close it with the palm of your hand; it should leave a light imprint and take firm pressure to open. If it closes easily, tighten the nut on the other side and try again.
Related articles
 How to Choose a Bike Helmet: Fit First, Then FeaturesRide Guides
 How to Teach Your Son to Ride a Bike: A Step-by-Step GuideRide Guides
 How to change a bike tyre: step-by-step guideRide Guides
 How Do You Measure a Bike Frame Size? A Simple GuideRide Guides
 How to Adjust Bike Brakes: Rim and Disc Brakes, Step by StepRide Guides
 How to change a bike inner tube, step by stepRide Guides
 How to Get Pedals Off a Bike: Direction, Tools and FixesRide Guides
 How to Measure Bike Helmet Size: A Step-by-Step Fit GuideRide Guides