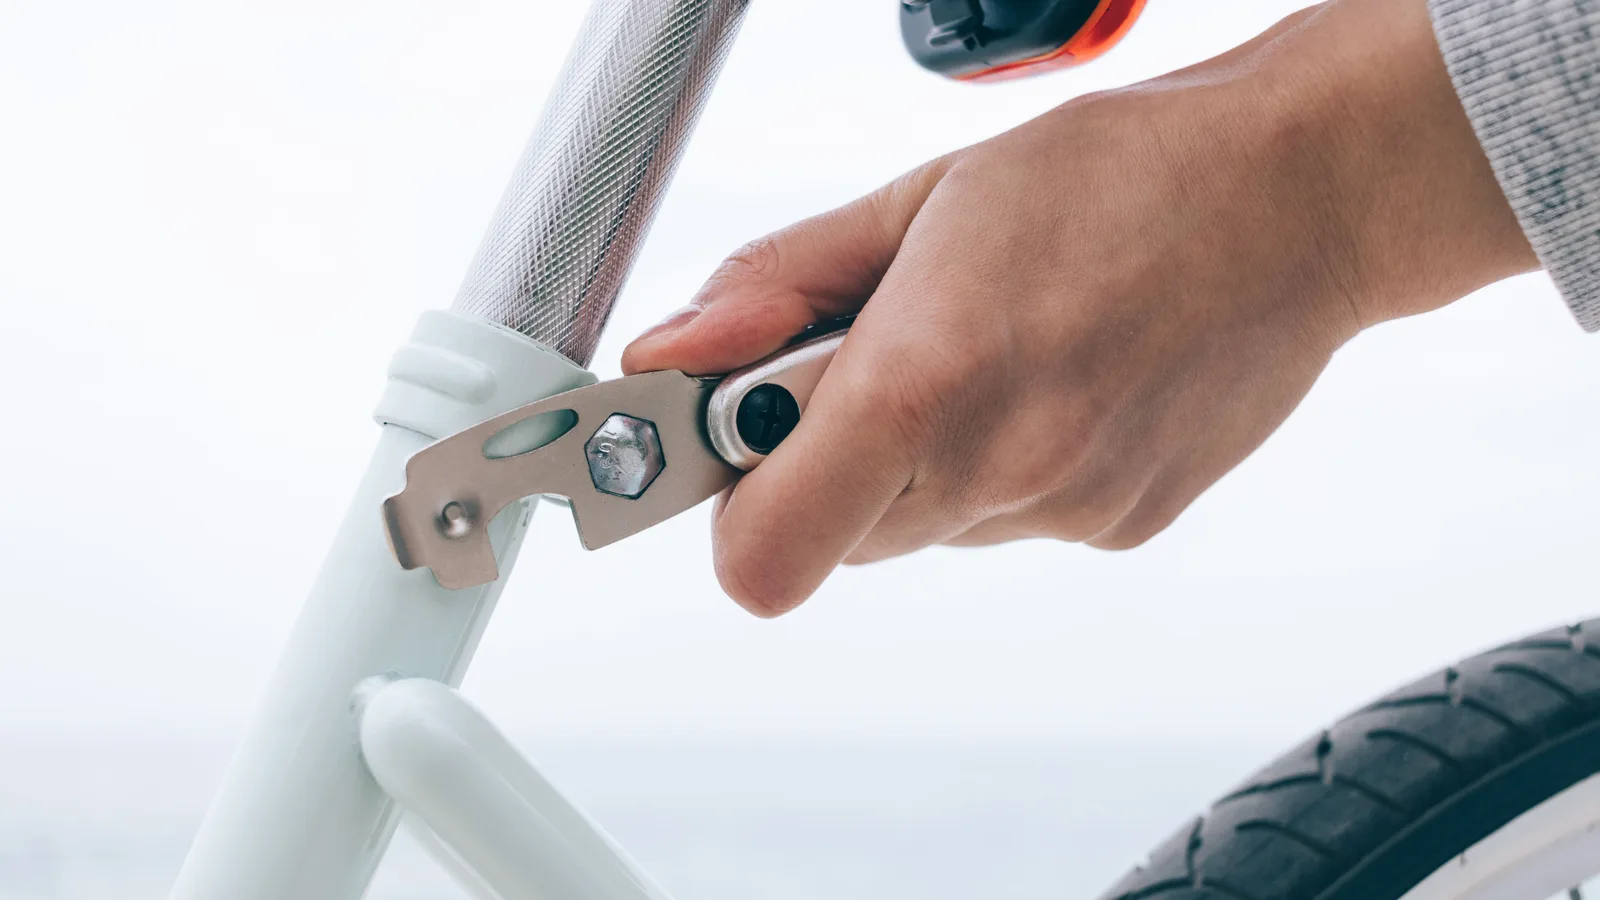
How to Adjust Bike Brakes: Rim and Disc Brakes, Step by Step
A step-by-step guide to adjusting rim and disc bike brakes at home: pad clearance, cable tension, lever feel and the checks that keep you safe.
The short answer
Nearly every brake problem on a bike comes down to one of two things: the gap between the pad and the braking surface, or how much travel there is before the pads bite. Fix both and the brake feels sharp again; get either wrong and the lever goes soft or the wheel drags.
The short version:
- Rim brakes: each pad should sit roughly 1–2 mm off the rim, contacting the middle of the braking track, with a slight toe-in to keep squeal down.
- Disc brakes: the rotor should run roughly central in the caliper gap without touching either pad. Rub usually means the caliper is off-centre or the rotor is slightly bent, not that the brake needs tightening.
- Cables stretch as they bed in. Most cable-brake jobs are half a turn of the barrel adjuster, not a full re-cable.
- Hydraulics look after pad wear themselves. If a hydraulic lever still pulls to the bar, there is air or a fluid problem — that is a bleed, not an adjustment.
Work out which brakes you have
The adjustment method depends entirely on the brake type, so look at the front brake before you pick up a tool. Rim brakes clamp onto the wheel rim; disc brakes squeeze a steel rotor bolted to the hub. Within each family there are two versions, and they behave differently.
| Brake type | What moves the pad | What you actually adjust |
|---|---|---|
| Caliper rim brake | Cable pull squeezes two arms together onto the rim | Pad height and angle, pad clearance, cable tension at the barrel adjuster |
| V-brake or cantilever | Cable pull draws two separate arms inwards | Spring tension screws, pad height and toe-in, straddle cable, cable tension |
| Mechanical disc | Cable pull moves one pad; the other pad is fixed | Fixed-pad adjuster, caliper centring, cable tension |
| Hydraulic disc | Fluid pushes pistons on both sides | Caliper centring, rotor truing, lever reach — there is no cable to tension |
What you need before you start
You do not need a full workshop, but you do need the right small tools and a clean working space:
- A set of metric hex keys — 4 mm and 5 mm cover most brake bolts.
- A cable cutter if you are replacing an inner cable (household pliers fray the cable and make it impossible to thread).
- A clean rag and some isopropyl alcohol for disc rotors and pads.
- A workstand, or a safe way to lift the wheel clear of the ground so you can spin it and watch the brake.
- A torch or head torch for peering into a disc caliper.
Check the pads before anything else. If they are worn out, no amount of adjustment will bring the brake back.
Adjusting rim brakes, step by step
-
1. Check the pads and the rim first
Look for a wear line or groove on the pad blocks: once the friction material is down to it, the pad is finished and needs replacing, not adjusting. Run a finger down the rim's braking surface — if the rim has a wear indicator and it has disappeared, the wheel is worn out. Do not adjust around either problem.
-
2. Set the pad height and angle
Loosen the pad bolt and set the pad so it strikes the middle of the braking track — not the tyre, and not hanging off the bottom edge of the rim. Add a slight toe-in (one edge of the pad about half a millimetre closer to the rim than the other, angled the way the pad maker specifies) by slipping a folded piece of card behind the pad as you tighten it.
-
3. Set the pad clearance
Aim for roughly 1–2 mm between pad and rim on each side. Take up slack with the barrel adjuster on the lever or caliper. If the adjuster is already wound right out, screw it fully in and re-clamp the cable, so you keep adjustment in reserve for later.
-
4. Centre the caliper
Loosen the caliper's mounting bolt about a quarter turn so it can float, squeeze the lever hard and hold it, then tighten the bolt again. The caliper settles square to the rim. On V-brakes, use the small spring-tension screws on each arm to even up the gap on both sides.
-
5. Check the lever feel
Pull the lever firmly. It should feel solid and stop well short of the bar or grip, with roughly a finger's width of clearance. If it comes back to the bar, there is too much slack in the cable or the pads are worn out.
Adjusting disc brakes, step by step
-
1. Check pad wear and rotor condition
Shine a torch into the caliper. If the friction material is down to the wear line, or the backing plate is close to the rotor, fit new pads. Then spin the wheel and sight along the rotor edge — a visible side-to-side wobble means the rotor is slightly bent.
-
2. Clean the braking surfaces
Wipe the rotor with isopropyl alcohol on a clean rag and let it dry. Keep your fingers off the braking track and keep lubricants well away from the caliper.
-
3. Set the fixed pad (mechanical brakes only)
Turn the inboard pad adjuster until that pad just touches the rotor, then back it off about a quarter turn so there is a small running gap. Hydraulic calipers have no such adjuster — skip this step.
-
4. Centre the caliper
Loosen both caliper mounting bolts just enough that the caliper can shift. Squeeze and hold the lever so the pads grip the rotor, then nip the bolts up a little at a time, alternating between them. Release the lever and spin the wheel.
-
5. Chase down any remaining rub
Work out which side is rubbing. A single tick once per revolution is a bent rotor: bend it back a fraction at the bend with a clean adjustable spanner or rotor tool, then re-check. A rub that runs through the whole revolution means the caliper is still off-centre. On a mechanical brake, fine-tune the outboard pad with the cable barrel adjuster.
-
6. Bed the pads in
New pads and rotors need bedding in. In a safe, traffic-free spot, make a series of firm stops from walking pace and build the speed up gradually, letting the brake cool between each. Avoid dragging the brake down a long hill in the first few rides.
Lever reach, lever angle and which lever does what
Set the lever up before you judge the brake. A lever that sits too far from the bar makes a perfectly good brake feel weak, because your fingers cannot get enough purchase on it.
- Reach: most levers have a small screw that brings the lever closer to the bar, useful for smaller hands. Use it for comfort only — never to take up slack in the brake.
- Angle: rotate the lever on the bar so your wrist stays straight when you reach for it with two fingers, and so the lever does not bottom out against the bar tape or grip.
- Sides: there is no rule about which lever works which brake. Some bikes come with the front brake on the left, others on the right. Note how yours is set up before you loosen anything, or you will spend the test ride grabbing the wrong wheel.
What usually goes wrong — and the fix
| Symptom | Likely cause | What to do |
|---|---|---|
| Brake rubs as the wheel spins | Caliper off-centre, or a slightly warped rotor | Re-centre the caliper; true the rotor in small increments |
| Lever pulls back to the bar | Cable stretch, worn pads, or air in a hydraulic line | Take up cable at the barrel adjuster, replace worn pads, or have hydraulics bled |
| Squeal or howl under braking | Glazed or contaminated pads, or no toe-in on rim pads | Clean with isopropyl, lightly sand the pad surface, set toe-in, re-bed disc pads |
| Pads grabbing the tyre or the rim edge | Pad height or angle set wrong | Reset the pad so it sits fully on the braking track |
| Wheel shifts or judders when braking | Loose quick-release or through-axle, not the brake | Check the wheel is seated and done up properly before touching the caliper |
Work through the list in order. Adjusting a caliper to compensate for a loose wheel, or winding in cable tension to make up for worn pads, hides the real fault and leaves you with a brake that fails sooner.
Checks before every ride
-
1. Spin each wheel
Lift the bike and spin each wheel in turn. Listen for rub and watch the gap between pad and rim or rotor.
-
2. Squeeze each lever hard
Both levers should feel firm and stop well before the bar. Sponginess or a lever that reaches the grip means stop and investigate.
-
3. Look at the pads
Check pad wear through the caliper or from the side of the rim brake. Replace at the wear line rather than adjusting around it.
-
4. Check the wheels are secure
Quick-releases closed, through-axles tight. A brake that pulls to one side is often a wheel that is not seated.
-
5. Test at walking pace
In a safe, traffic-free spot, brake gently from walking pace and feel for grab, pull or noise before you join traffic.
When to hand it to a bike shop
Hydraulic brakes are the usual point where home maintenance ends. Caliper alignment and lever reach are fair game, but a spongy lever, a lever that slowly sinks while held, or a system that needs new fluid is a bleed job. Bleeding needs the right fluid, a bleed kit and a bit of practice, and getting it wrong leaves you with less braking than you started with. A shop will usually turn a bleed around quickly, and it is worth it for the difference in lever feel.
Common brake questions
Do I need to take the wheel off to adjust my brakes?
Usually not. Pad clearance, caliper centring and cable tension can all be set with the wheel in the frame, and leaving it in place makes it easier to spin the wheel and watch for rub. Remove it only to fit new pads or to inspect the rotor closely.
Can hydraulic brakes be adjusted the same way as cable brakes?
Only partly. Caliper alignment and lever reach work the same way, but there is no cable to tension, and the pistons take up pad wear on their own. A soft or sinking lever points to air or fluid, which is a bleed rather than an adjustment.
How do I know whether pads need adjusting or replacing?
Look for the wear line or groove on the pad. Once the friction material is level with it, or the backing plate is getting close to the rotor, replacement is the only fix — no adjustment restores material that has already gone.
Why do my brakes squeal after I clean the bike?
Cleaner, degreaser or oil on the pads or rotor is the usual culprit, along with glazed pads. Wipe the braking surfaces with isopropyl alcohol, lightly sand pad surfaces that have gone shiny, and bed disc pads back in with a few firm stops.
Is it safe to ride with the brake lever touching the bar?
No. A lever that reaches the bar leaves you with little or no braking reserve, and the cause — cable slack, worn pads or air in a hydraulic line — will not fix itself. Sort it before you ride.
Related articles
 How to Choose a Bike Helmet: Fit First, Then FeaturesRide Guides
 How to Fix a Puncture: A Step-by-Step Guide for CyclistsRide Guides
 How to Teach Your Son to Ride a Bike: A Step-by-Step GuideRide Guides
 How to change a bike tyre: step-by-step guideRide Guides
 How Do You Measure a Bike Frame Size? A Simple GuideRide Guides
 How to change a bike inner tube, step by stepRide Guides
 How to Get Pedals Off a Bike: Direction, Tools and FixesRide Guides
 How to Measure Bike Helmet Size: A Step-by-Step Fit GuideRide Guides