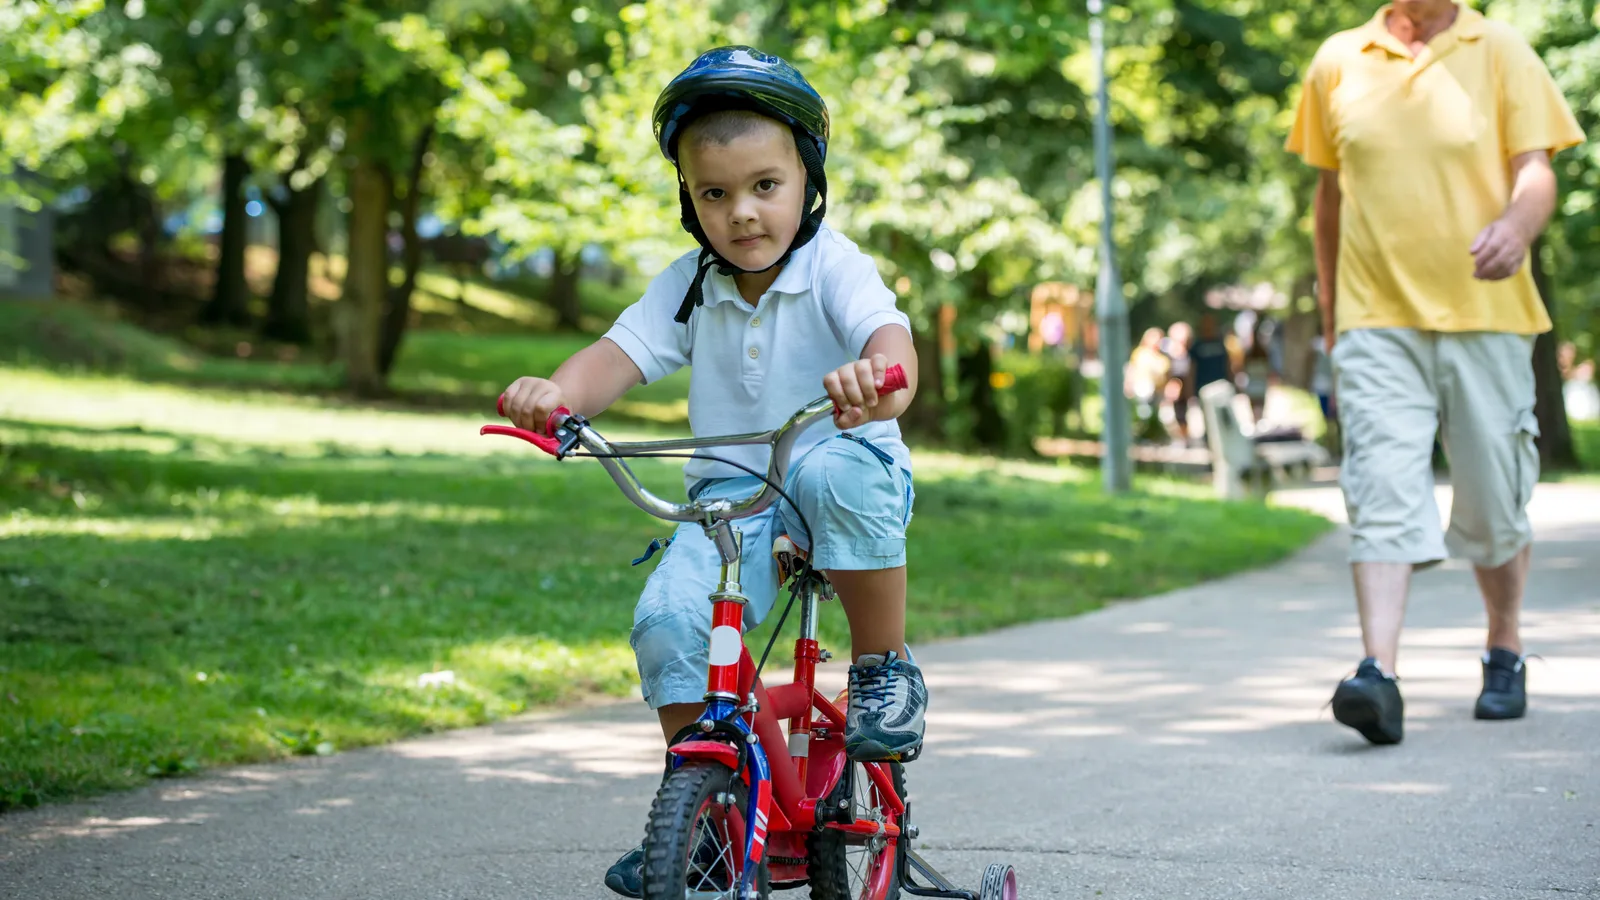
How to Teach Your Son to Ride a Bike: A Step-by-Step Guide
A practical UK guide to teaching your son to ride a bike: balance first, pedals later, plus fixes for wobbles, fear and common mistakes.
The short answer
Most children learn faster if you take the pedals off first. Turn the bike into a balance bike, find a gentle slope on a smooth, traffic-free surface, and let your son scoot and glide until he can steer and balance without your hand on the bike. Then refit the pedals, set the saddle so his feet can still reach the ground, and practise starting, pedalling and stopping in short bursts.
The aim is not to hold him upright. It is to give him small, repeatable wins so he trusts the bike enough to let go.
What you need before you start
You do not need special equipment, but a few checks make the first session much easier.
- Bike
- A bike that fits him now, with working brakes and no loose parts. A balance bike, or a pedal bike with the pedals removed, both work.
- Helmet
- A cycle helmet that sits level, covers the forehead and stays put when he shakes his head. Replace a helmet that has had a heavy knock.
- Surface
- A flat, dry, traffic-free area such as a park path, a closed car park or a quiet cycle path. Avoid grass for early gliding: it is bumpy and hides holes.
- Clothing
- Trainers and trousers or shorts he can move in. Avoid long laces, loose cuffs and coats that catch the saddle.
- Time
- Short sessions, ideally when he is not tired or hungry. Mornings on a quiet path usually work better than after school.
- Tools
- The correct spanner or Allen key for the pedals, and a pump if the tyres need air.
Set the bike up properly
-
1. Lower the saddle
With the pedals off, set the saddle low enough that he can sit on it with both feet flat on the ground. He needs to be able to save a wobble with his feet.
-
2. Check the brakes
Make sure the brakes work from a child's grip. For the first sessions, teach him to use both brakes together and to put his feet down as a backup.
-
3. Remove the pedals and stabilisers
Take the pedals off with the correct spanner or Allen key; keep the left and right pedals separate so they go back on the right way. Remove stabilisers so the bike can lean.
-
4. Fit the helmet
Put the helmet on before he gets on the bike. It should sit level, not tipped back, and the straps should form a V under each ear.
-
5. Choose the practice spot
Pick a smooth, quiet surface with a very slight downhill slope. Walk the route first and check for glass, dog mess, kerbs, parked cars and cyclists.
Teach balance first: scooting and gliding
-
1. Walk the bike
Stand beside the bike, hold the handlebars and walk it along. This gets him used to the weight, the steering and the brakes without asking him to balance.
-
2. Sit and scoot
With the saddle low, he sits and pushes with his feet, first walking, then taking longer strides. Encourage him to look ahead, not down at the front wheel.
-
3. Lift the feet
Once he is scooting confidently, ask him to push off and lift both feet for a second or two. Count out loud if it helps. Keep the surface flat and the route clear.
-
4. Glide on a gentle slope
Find a very slight slope with a safe run-off. He scoots, lifts his feet and lets the bike roll. Walk alongside, not holding the bars, and be ready to catch the saddle or his back if he wobbles.
-
5. Add steering
Set a simple target — a chalk line, a cone or a mark on the path — and ask him to steer towards it. Turns are easier when he looks where he wants to go.
-
6. Stop on a good glide
End the session after a smooth glide, not after a fall. Three or four good glides are worth more than twenty wobbly ones.
Refit the pedals and teach the first pedal strokes
-
1. Set the saddle height
With the pedals on, raise the saddle so he can touch the ground with the balls of his feet while sitting. If he is nervous, leave it a little lower for the first session and raise it later.
-
2. Practise the start
Put one pedal at roughly two o'clock. He pushes down with that foot while looking ahead. Give the bike a gentle push if needed, but do not hold the handlebars.
-
3. Pedal and coast
Ask him to pedal three times, then coast with his feet level. Repeat until the start feels normal. Do not worry about speed yet.
-
4. Add stopping
Teach him to squeeze both brakes gently and put his feet down as the bike slows. Practise stopping at a mark before he tries a longer ride.
-
5. Link start, pedal, stop
Set a short course: start here, pedal to the mark, stop. Once he can do that, lengthen the course and add a gentle turn.
How to support him without doing the work
Walk beside and slightly behind him so he cannot see your worried face. Keep instructions short: look ahead, feet up, pedal, stop. One instruction at a time is plenty.
Let him choose when to try without your hand. A child who feels in control is more likely to keep going than one who is being pushed.
What commonly goes wrong — and how to fix it
| Problem | Likely cause | What to try |
|---|---|---|
| He will not lift his feet | He does not trust the bike to stay upright | Go back to scooting on a flat surface. Hold the saddle lightly, count to two, and let him choose when to lift his feet. |
| He leans to one side | Saddle too high, or he is looking down | Lower the saddle so both feet reach the ground, and point at something ahead for him to look at. |
| He pedals once and stops | Starting is harder than pedalling | Practise the two o'clock start on its own, with one push and no expectation to go far. |
| He grabs the brakes hard | He is nervous, not naughty | Practise gentle braking at walking pace. Teach both brakes together and feet down as a backup. |
| He will not try without you holding on | He has learned that your hand means safety | Hold the saddle, not the bars, and reduce contact gradually: two fingers, then a hover, then nothing. |
| He is tired and cross | The session is too long, too hot or too late | Stop. Try again another day, ideally in the morning on a cool, quiet path. |
Should you use stabilisers?
Stabilisers can help a nervous child get used to steering and pedalling, but they do not teach balance. If you use them, treat them as a short confidence stage, not the destination. Raise them a little as he gets more confident, then remove them and go back to scooting with the pedals off.
Many children move faster if they skip stabilisers altogether and start on a balance bike or a pedal bike with the pedals removed. Either route is fine. What matters is that he spends time feeling the bike lean and learning to correct it.
Keep the first rides safe
Safety is mostly about the place and the setup, not about buying more kit.
- Put the helmet on every time, even for a short practice.
- Use a smooth, dry, traffic-free surface and check it for glass, kerbs and parked cars.
- Avoid slopes that run into a road, wall, water or a busy path.
- Check the brakes, tyres, chain and saddle before each session.
- Keep laces short and clothing close to the body so nothing catches.
- Take water and stop before he gets hot, thirsty or tired.
A simple practice plan
Session one: set up the bike, practise walking and scooting, then try a few glides. Finish before he is tired.
Session two: more glides and simple steering games. If he is gliding confidently, refit the pedals at the end and let him try one start.
Session three: start, pedal and stop on a short course. Add a gentle turn only when the stop is reliable.
After that: short rides on quiet paths, with plenty of stopping practice. Confidence grows with repetition, not with one big breakthrough.
When to stop and try again later
Learning to ride is not a straight line. If he is crying, clinging to the bike or falling repeatedly, stop for the day. A bad ending can make him dread the next session.
Check the basics before you try again: can he touch the ground, are the brakes easy to reach, is the surface smooth, and is the bike the right size? If he is older and still struggling, a local cycle training session or an instructor can help; ask your council or a cycling organisation what is available nearby.
Frequently asked questions
How long does it usually take to teach a child to ride a bike?
Some children get it in a few short sessions; others need weeks or months. Progress is rarely a straight line, so judge by confidence and control rather than a deadline.
Should I run behind and hold the bike?
No. Running behind and holding the bike teaches him to rely on you. Walk alongside, hold the saddle lightly if needed, and let go as soon as he is gliding.
What age can my son start?
Most children are ready between about three and six, but size, confidence and coordination matter more than age. If he can walk, scoot and follow simple instructions, he can start on a balance bike.
Do I need a special balance bike?
No. A normal pedal bike with the pedals removed works well, provided the saddle goes low enough for his feet to reach the ground. A balance bike is simply a bike built for that job.
What if he keeps falling?
Check the saddle height, the surface and his speed. Most falls at this stage happen when the saddle is too high or he is looking down. Go back to scooting and gliding before trying pedals again.
Can he learn on grass?
It is possible, but grass is usually harder: it is bumpy, slower and hides holes. Use a smooth, dry, traffic-free surface for learning, and save grass for play once he can ride.
Related articles
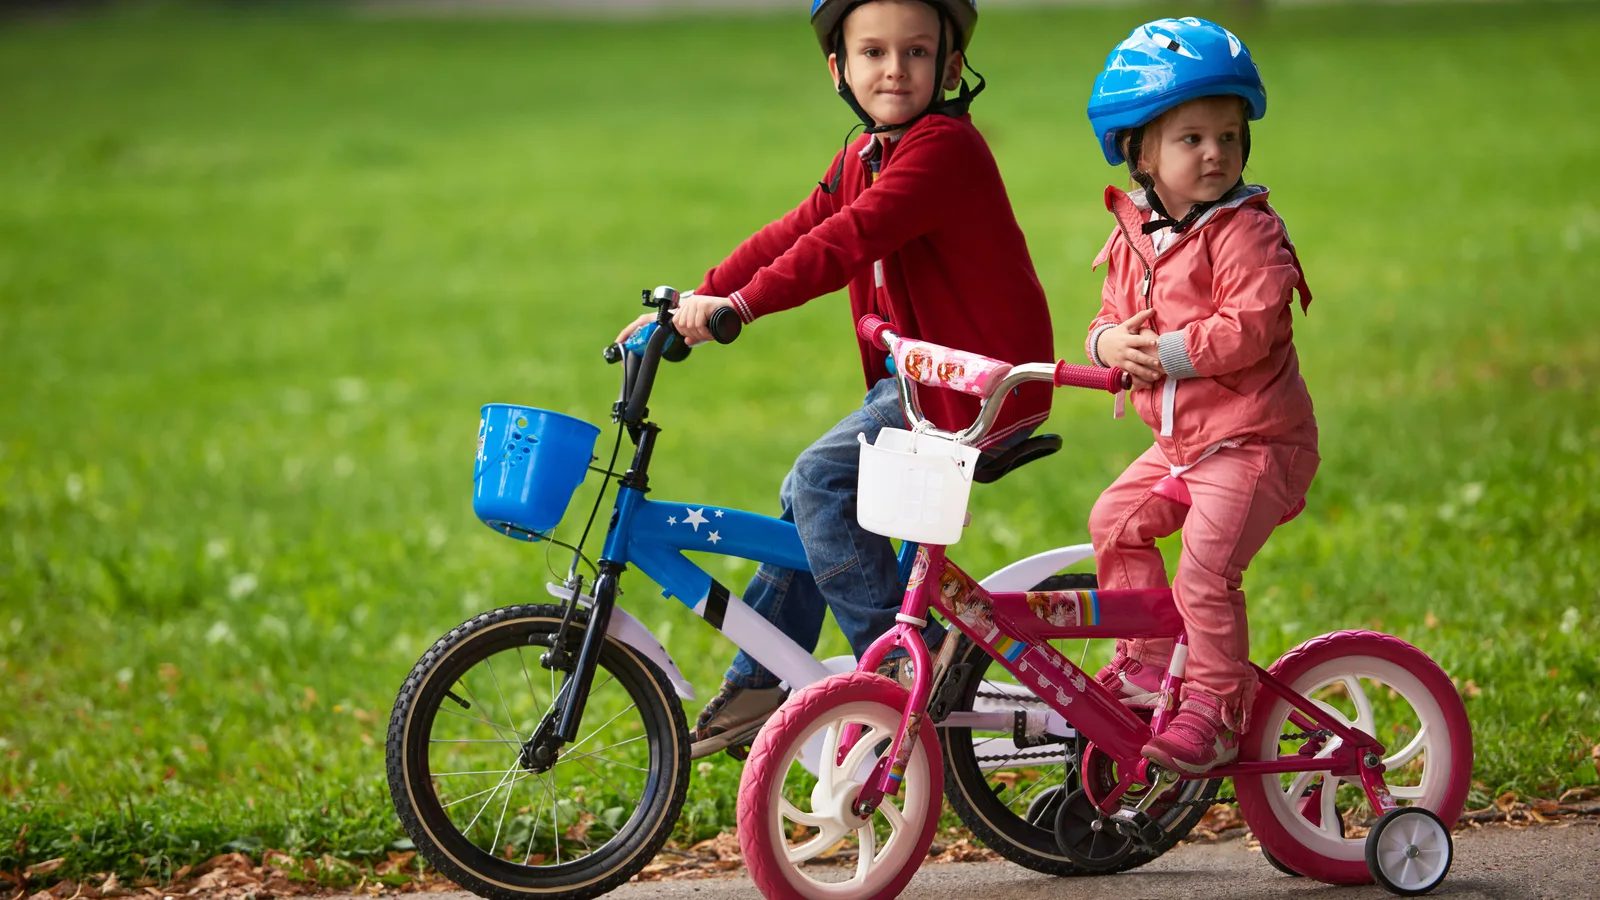 How to Choose a Bike Helmet: Fit First, Then FeaturesRide Guides
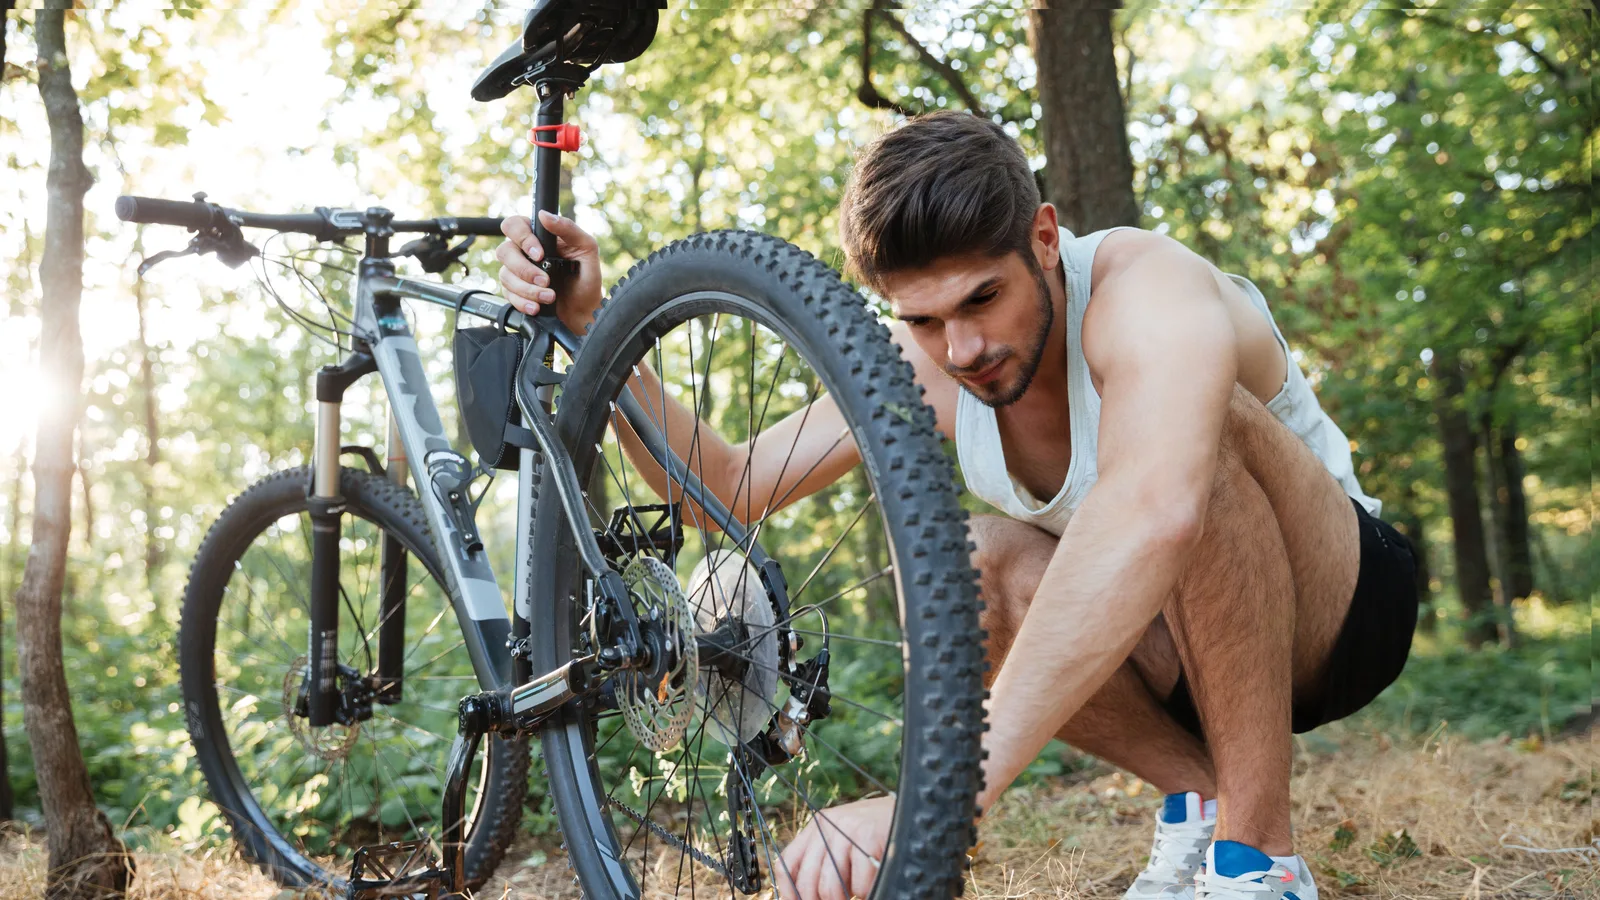 How to Fix a Puncture: A Step-by-Step Guide for CyclistsRide Guides
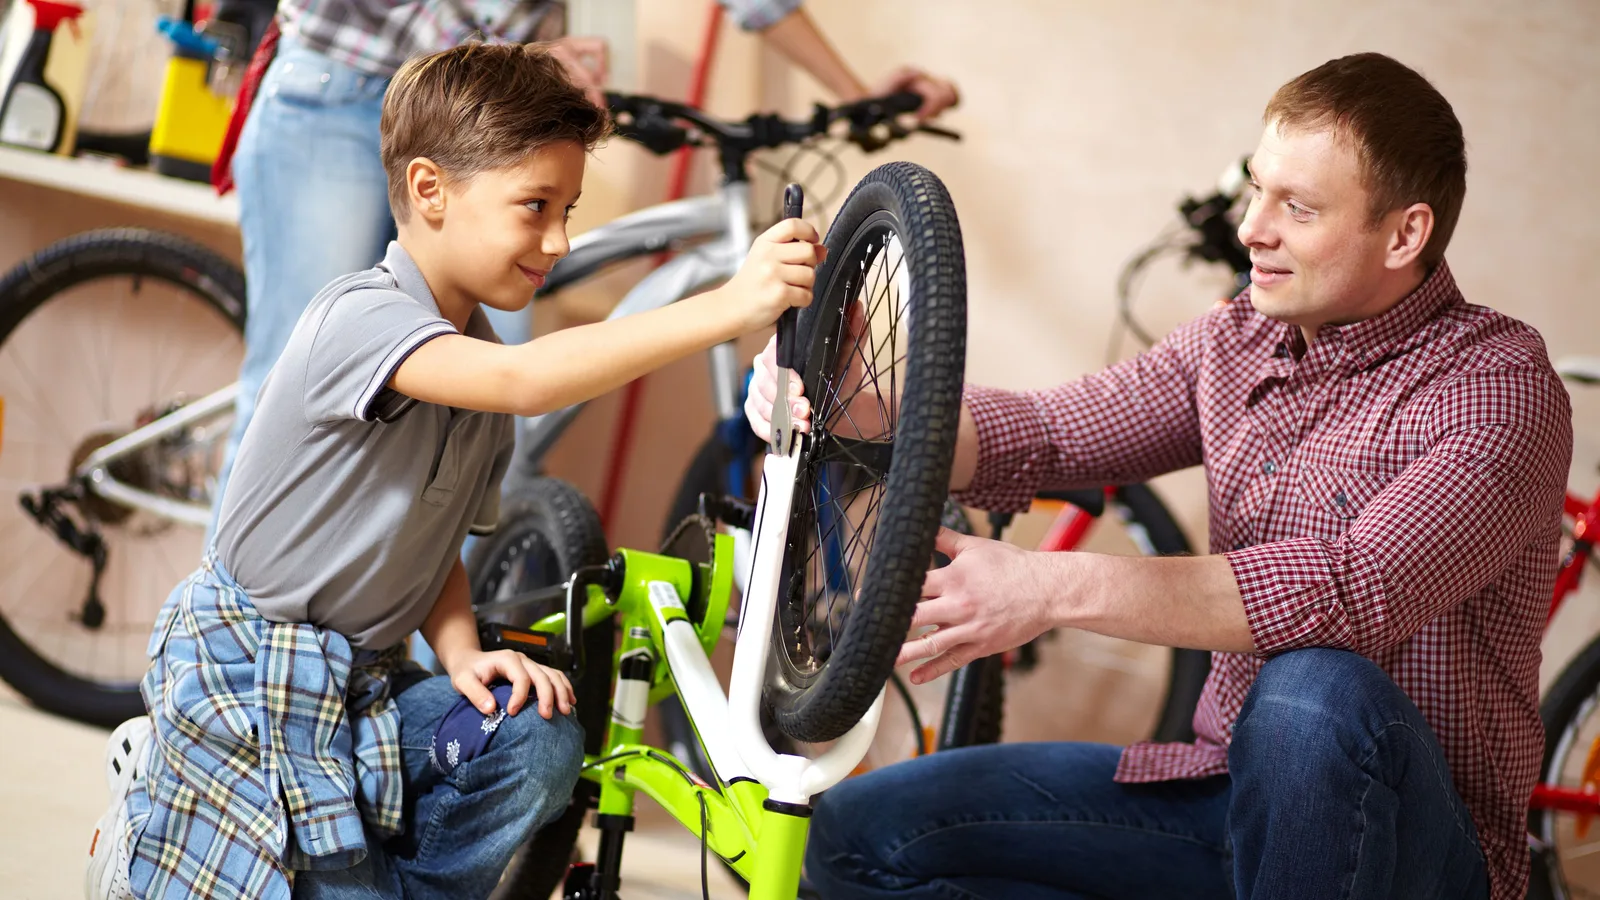 How to change a bike tyre: step-by-step guideRide Guides
 How Do You Measure a Bike Frame Size? A Simple GuideRide Guides
 How to Adjust Bike Brakes: Rim and Disc Brakes, Step by StepRide Guides
 How to change a bike inner tube, step by stepRide Guides
 How to Get Pedals Off a Bike: Direction, Tools and FixesRide Guides
 How to Measure Bike Helmet Size: A Step-by-Step Fit GuideRide Guides