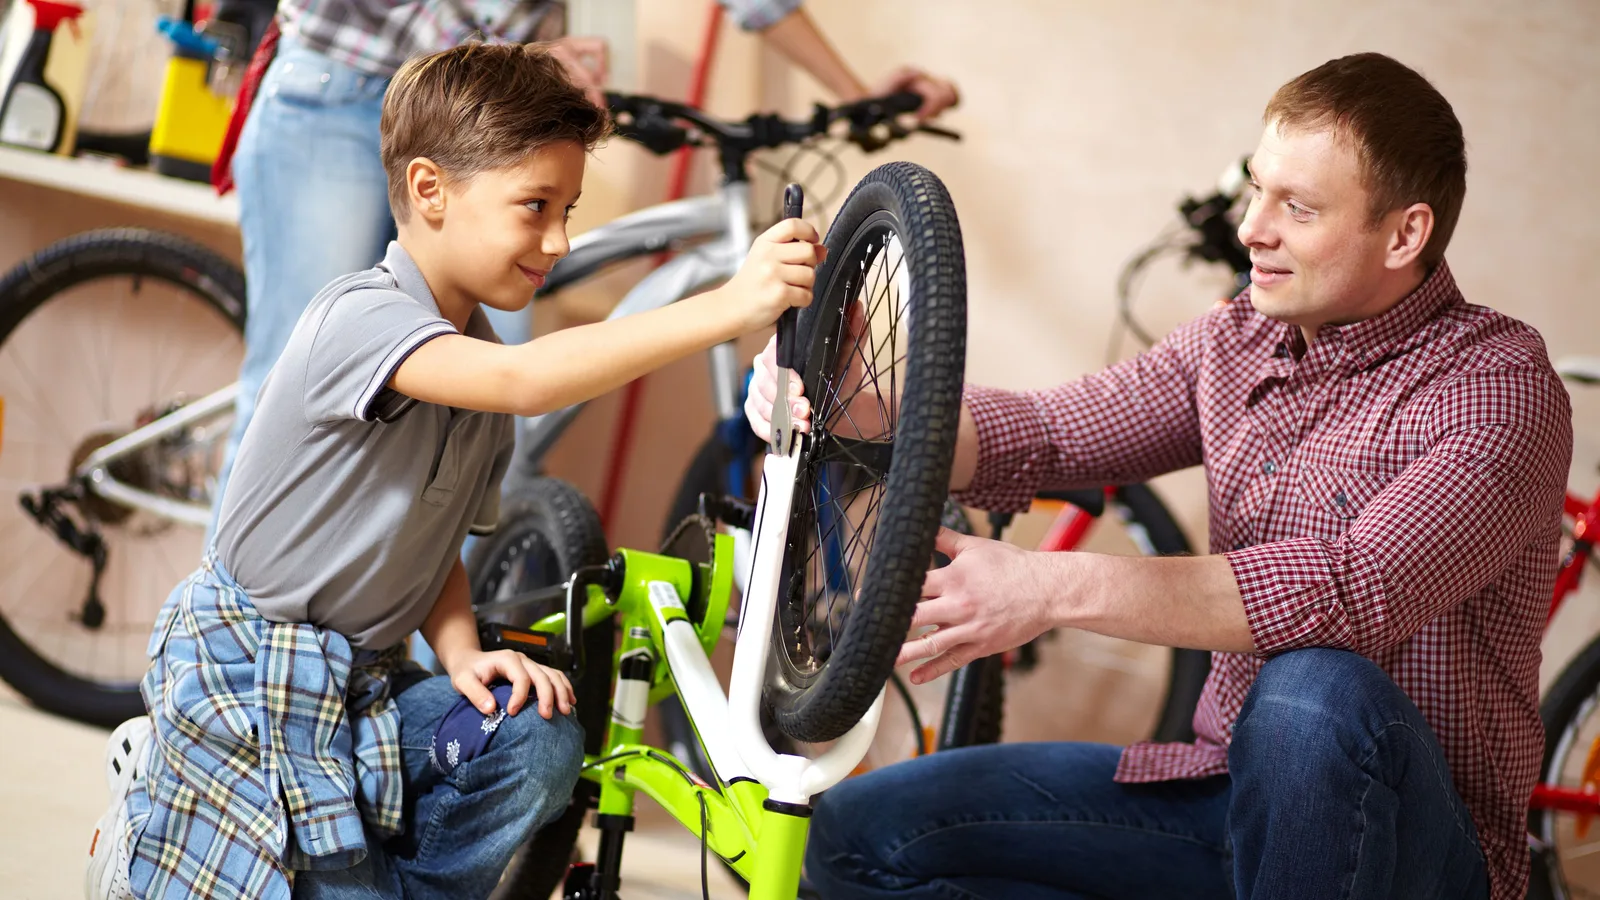
How to change a bike tyre: step-by-step guide
How to change a bike tyre or inner tube: the tools to gather, the order to do it in, and the checks that stop the same puncture coming back.
The short answer
Take the wheel off, let the air out, push the tyre bead into the middle of the rim, ease the first bead over the rim with levers, pull the inner tube out, find and remove whatever caused the puncture, then refit the tube and tyre and pump up in stages.
On most bikes the tyre itself stays on the rim. You only take it right off when you are fitting a new tyre, the old one is torn, or you are swapping to a different size.
What you need before you start
Lay everything out first. Hunting for a lever with the tyre half off and the light going is miserable, and it is how tubes get pinched.
At home you can work standing up with the bike in a stand or upside down on a rug. At the roadside, get the bike well off the carriageway and lean it against a hedge or wall before you start.
- Tyre levers
- Two or three plastic levers. Metal ones scratch rims and pinch tubes.
- Pump
- A track pump at home, or a frame pump or CO2 inflator on the road, with the right head for Presta or Schrader valves.
- Inner tube
- Match the size marked on the tyre sidewall. Deep-section rims need a longer valve.
- Wheel tools
- Most quick-releases need none. Some wheels take a 15 mm spanner or a hex key for the axle.
- Pressure guide
- Use the range printed on the tyre sidewall, checked with a gauge rather than by thumb.
- Also worth having
- A clean rag, and a bowl of water if you plan to patch the old tube.
How to change a bike tyre and inner tube, step by step
-
1. Let the air out
Unscrew the valve cap and, on a Presta valve, the small nut on top. Press the valve tip to release the remaining air. If a threaded lockring holds the valve to the rim, remove it — it is only there to stop the valve rattling, and it will fight you later.
-
2. Take the wheel out of the bike
Open the quick-release lever and hold the nut on the other side while you unscrew it, or undo the through-axle with the key your bike needs. With rim brakes you may need to release the brake quick-release, or let a little more air out, so the tyre squeezes past the pads. On the rear, drop the chain off the cassette.
-
3. Push the bead into the rim well
Stand the wheel upright and squeeze the tyre all the way round so the bead drops into the deeper channel in the middle of the rim. This is the single most useful trick in the whole job: it slackens the tyre and turns a fight into a two-minute task.
-
4. Free the first bead with levers
Start opposite the valve, not at it. Push the hooked end of a lever under the tyre bead and lever it down, hooking the other end onto a spoke. Then slide a second lever round the rim to peel the rest of the bead off in short pushes.
-
5. Pull the inner tube out
Draw the tube out starting away from the valve so you do not tear it, then push the valve through the rim. Leave the tyre on the rim if you are keeping it — the second bead can stay seated.
-
6. Find and remove the cause
Put a little air in the old tube and listen or feel for the escaping air, or dunk it in water and watch for bubbles. Line the tube up against the tyre in the same orientation to locate the sharp still lodged in the tread, then run a cloth round the inside of the tyre. Check the rim tape too: split tape or a tape sitting off-centre over a spoke hole will puncture the new tube at once.
-
7. Fit the tube and the first bead
Put just enough air in the new or repaired tube to give it shape. Feed the valve through the rim, tuck the tube inside the tyre all the way round, then push the first bead over the rim with your hands, finishing at the valve.
-
8. Work the second bead on by hand
Starting opposite the valve, roll the second bead over the rim with the heel of your hand. Keep the bead you have already fitted pressed into the rim well as you go, because that slack is what lets the last stretch go over. Only use a lever for the final few centimetres, and gently.
-
9. Check nothing is trapped
Go right round the tyre, pushing the bead back from the rim to peek underneath. No rubber should be pinched between tyre and rim. If there is, deflate and reseat before you pump up.
-
10. Inflate in stages
Pump to part pressure and check the thin moulded line just above the bead sits an even distance from the rim all the way round, on both sides. Then inflate to the range printed on the tyre sidewall.
-
11. Refit the wheel
Slot the wheel home, close the quick-release firmly, reconnect the brake and spin the wheel to check it runs clear of the pads and frame.
Getting the tyre back on without pinching the tube
Nearly every roadside failure at this stage is a pinched tube: a fold of rubber trapped between tyre bead and rim, which splits the moment you inflate. Two habits prevent it.
- Keep the fitted bead pushed into the rim well while you work the second bead over.
- Stop every so often and look under the bead rather than assuming.
Very tight tyre and rim combinations go on more easily if the tyre is warm, or if you wet the bead slightly. Hands before levers, every time.
Refitting the wheel safely
A wheel that is not fully home will rub, or worse, come out mid-ride. Check it properly before you set off.
- On the rear, check the chain is sitting on the sprockets and the wheel is centred between the stays.
- With disc brakes, slide the rotor into the calliper without squeezing the lever, and never press the lever with the wheel out.
- Re-close any brake quick-release you opened.
- Spin the wheel and look for wobble or rubbing.
- Bounce the bike once on the ground to settle anything that was loose.
Why the same puncture keeps coming back
| What you notice | Likely cause | What to do |
|---|---|---|
| Flat again in the same spot days later | A sharp still lodged in the tread | Run a cloth round the inside of the tyre and prise it out |
| Tyre will not sit evenly on the rim | Tube trapped under the bead | Deflate, push the bead back with your thumbs and reseat |
| A thump once per wheel revolution | Bead not seated, or a lump in the tube | Let the air out, reseat, then inflate in stages |
| Wheel rubs or feels loose after refitting | Axle not fully home in the dropouts | Slacken the quick-release and reseat with body weight on the bike |
| Air escapes the moment you pump | Loose valve core, or damage at the valve | Tighten the valve core, or fit another tube |
| Punctures on the inside of the tube | Rim tape split or shifted over a spoke hole | Replace the rim tape before fitting a new tube |
Patching the tube or fitting a new one
You do not have to bin a punctured tube. A patch costs very little and takes a few minutes once you have done it a couple of times.
Repairing the tube
- Cheap, and you can carry several patches in a saddlebag
- Keeps a serviceable tube out of the bin
- Finding the hole tells you what caused the puncture
Things to weigh up
- Slower than a straight tube swap, especially in the rain or dark
- A patch fails if the glue has not gone tacky before you apply it
- Hard to do neatly with cold hands at the roadside
Tubeless tyres and other setups
Tubeless tyres have no inner tube: sealant inside the tyre closes small punctures as you ride, and a plug kit deals with bigger holes. If a tubeless tyre will not seal, you can fit an inner tube to get home, but you will need to remove the tubeless valve stem first and keep it safe, then fit the tube's own valve through the same hole. Expect sealant to be messy and check the inside of the tyre for thorns before you fit the tube.
A cut through the casing that is long enough to show the tube is dangerous to ride on. A temporary boot — a folded piece of tough plastic or a purpose-made tyre boot — between tube and tyre can get you home slowly at lower pressure, but the tyre needs replacing.
If your bike has tubeless-ready tyres with a tube inside, everything above still applies.
Common questions about changing a bike tyre
Can I change a tube without taking the wheel off?
Sometimes. If the brake pads leave enough clearance and the stays do not get in the way, you can lever the tyre off with the wheel in place. It is fiddlier, and mudguards on a rear wheel usually make it impossible, so removing the wheel is normally quicker.
What size inner tube do I need?
Read the diameter and width markings on the tyre sidewall and choose a tube whose stated range covers that width. A tube that is slightly wider than needed is fine; one that is much too narrow will stretch thin and split. Match the valve length to the depth of your rim.
Should I carry a spare tube or a patch kit?
Either works. A spare tube is faster and more dependable at the roadside, while patches take up less space and save you if you puncture more than once. Plenty of riders carry both.
How do I find a puncture without a bowl of water?
Inflate the tube slightly and run it past your ear and your cheek — both are sensitive to a small jet of escaping air. Then line the tube up against the tyre in the same orientation to trace where the sharp is sitting.
Can I ride straight away on a patched tube?
Yes, as soon as the patch is properly stuck and the tyre is back to pressure. Let solvent-based glue go tacky for a minute or two before applying the patch, press it down firmly, and check the pressure again the next morning.
Related articles
 How to Choose a Bike Helmet: Fit First, Then FeaturesRide Guides
 How to Fix a Puncture: A Step-by-Step Guide for CyclistsRide Guides
 How to Teach Your Son to Ride a Bike: A Step-by-Step GuideRide Guides
 How Do You Measure a Bike Frame Size? A Simple GuideRide Guides
 How to Adjust Bike Brakes: Rim and Disc Brakes, Step by StepRide Guides
 How to change a bike inner tube, step by stepRide Guides
 How to Get Pedals Off a Bike: Direction, Tools and FixesRide Guides
 How to Measure Bike Helmet Size: A Step-by-Step Fit GuideRide Guides